(877) 210-6361(877) 210-6361(877) 210-6361
 |
 |
 |
 |
 |
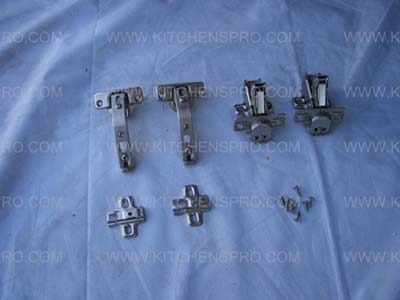
| Flathead / Philips Screwdriver Required Tool |
Electric Screwdriver Recommended Tool |
Rubber Head Hummer Recommended Tool |
3/4" Staples Gun Recommended Tool |
Hot Glue Gun Recommended Tool |


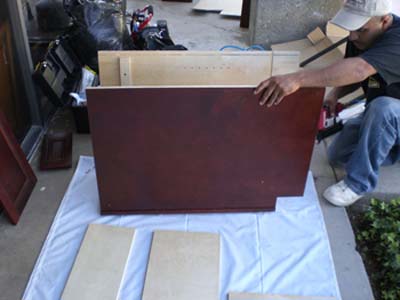
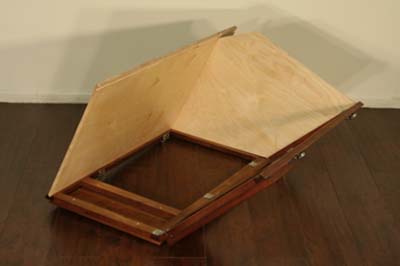
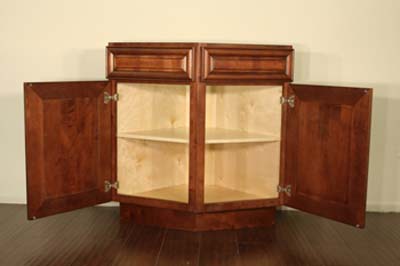
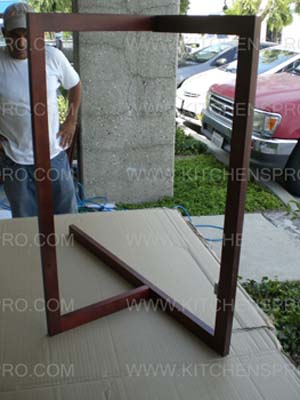
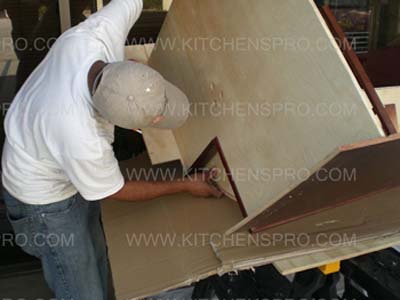
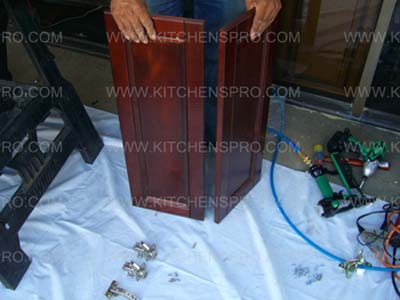
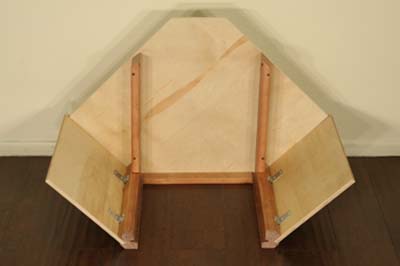
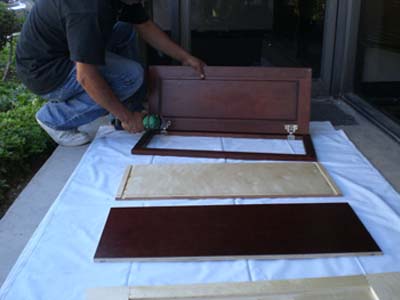
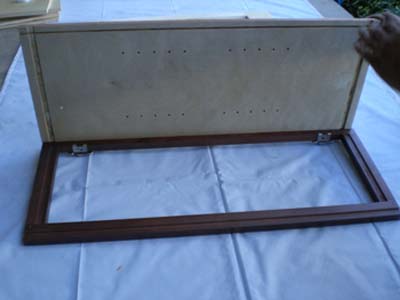
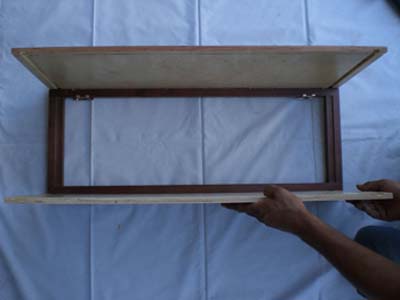
Remove the door from the frame. It is best to re-install the door after the installation of all the cabinets. Otherwise, doors might be damaged during the assembly and installation of the cabinet boxes.
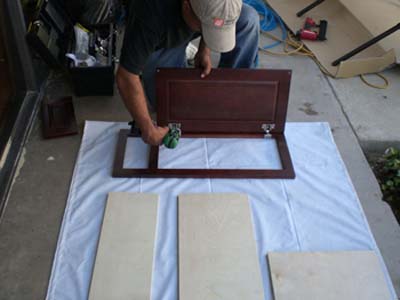
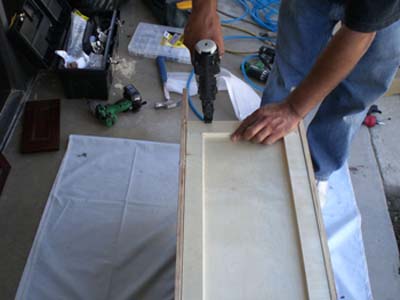
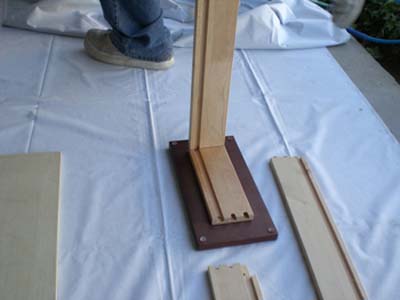
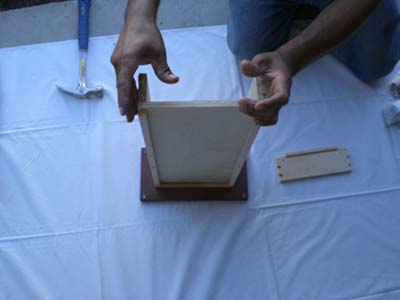
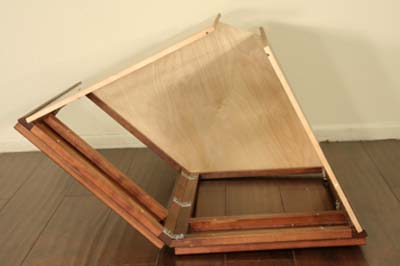
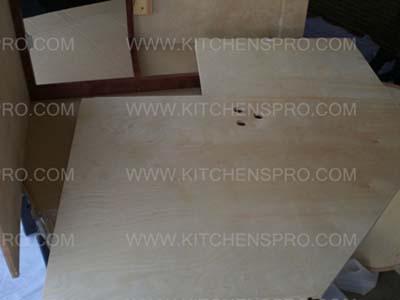
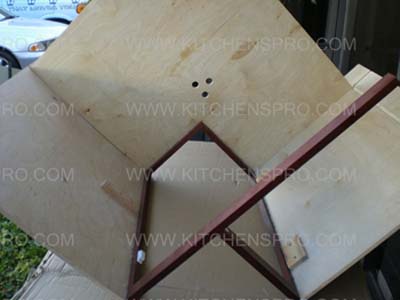
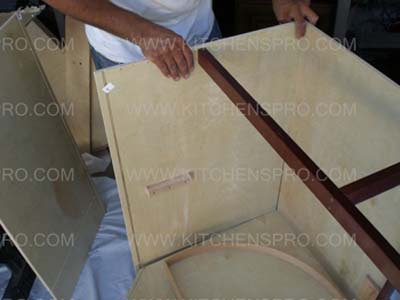
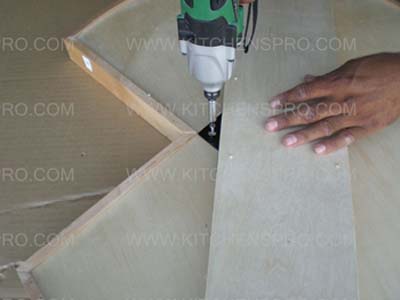
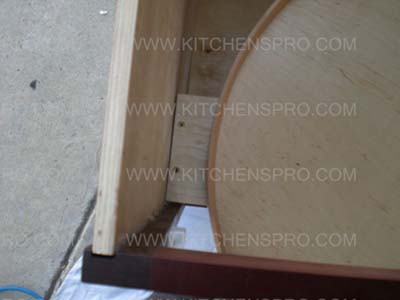
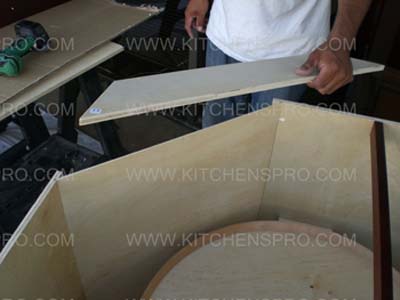
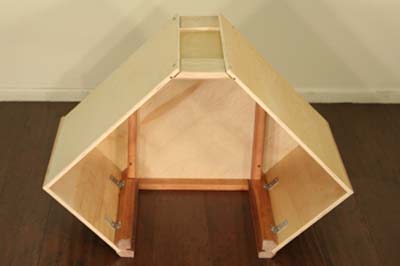
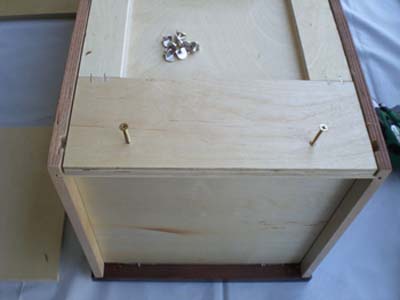
Locate the two top, interior support pieces.
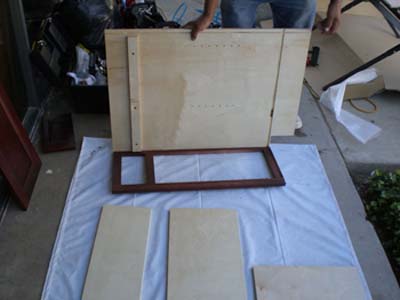
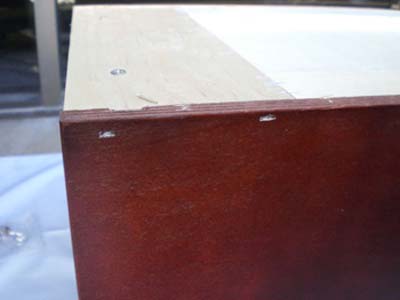
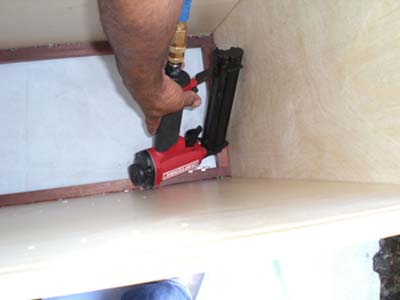
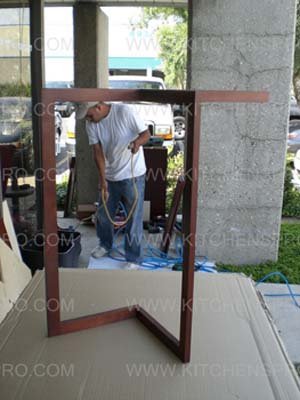
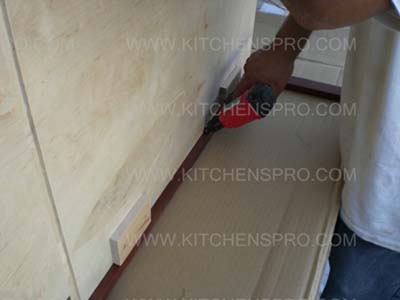
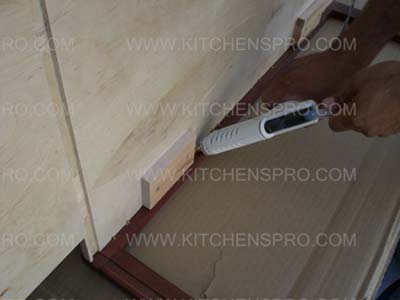
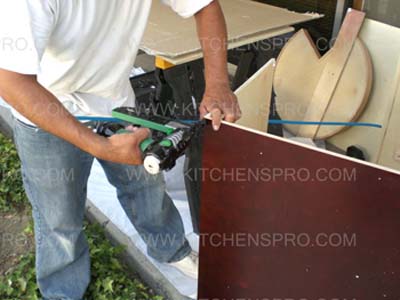
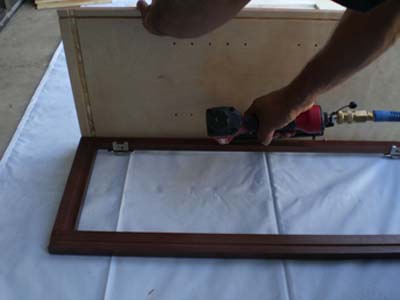
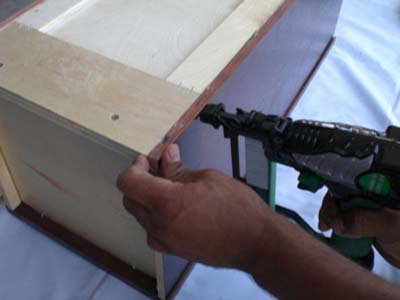
Secure the side panel to the frame using 1/4" wide by 3/4" deep staples every 6".
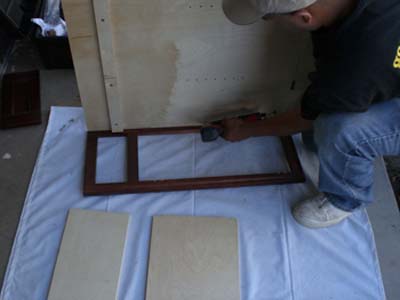
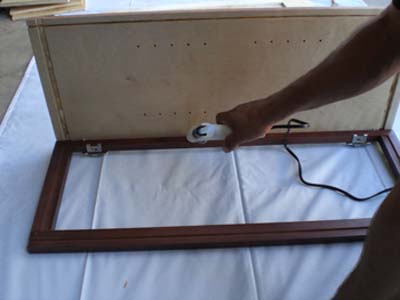
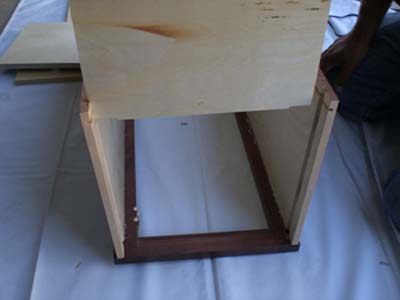
If you are using hot glue (optional, but recommended) make sure to apply a thin layer of glue over the connection of the side panel and the frame (from the inside of the cabinet as shown in the photo).
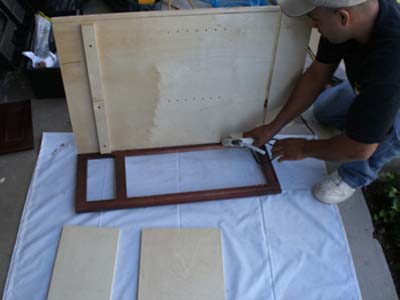
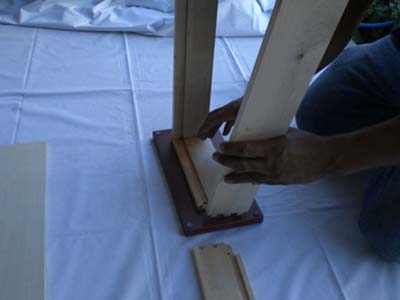
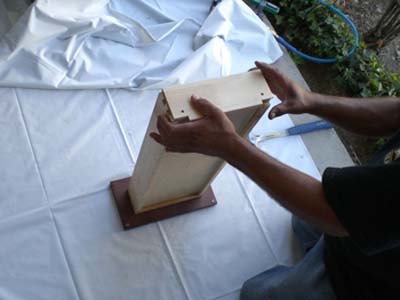
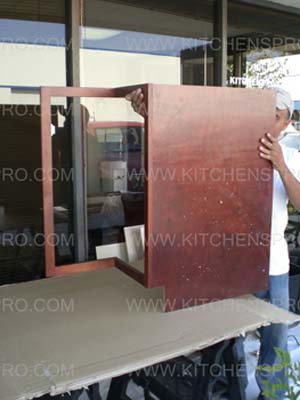
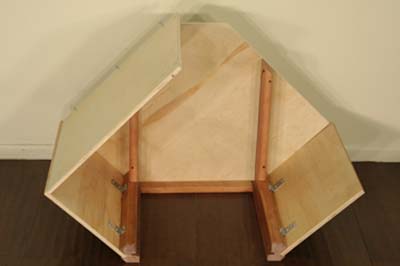
Repeat Steps 3 and 4 with the other side panel.
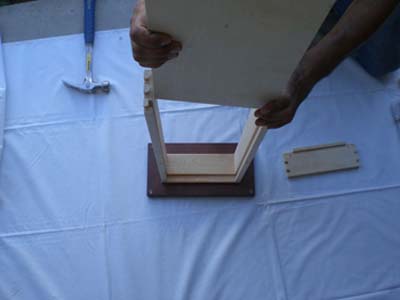
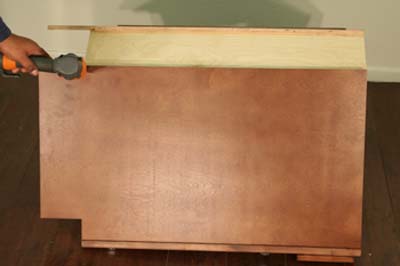
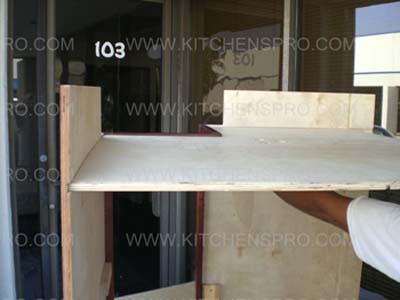
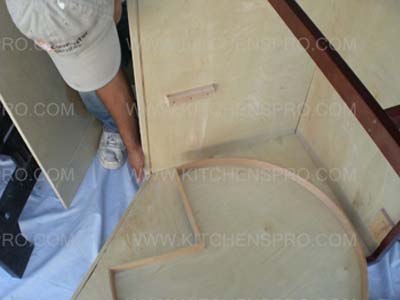
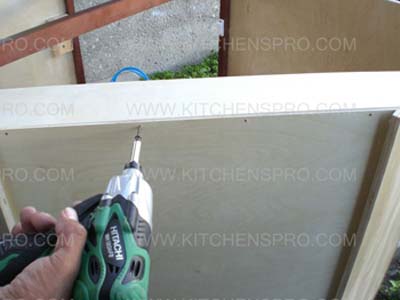
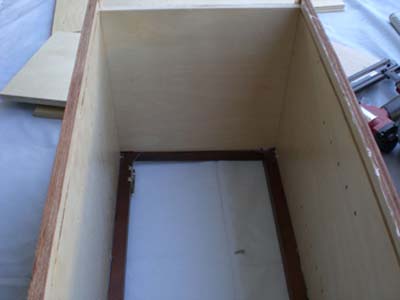
Insert the bottom panel through the grooves. Staple every 4-6'' and apply hot glue.
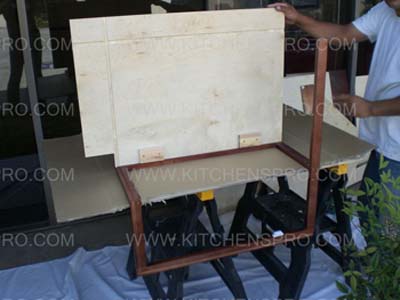
Slide in the back panel starting from the bottom moving toward the top.
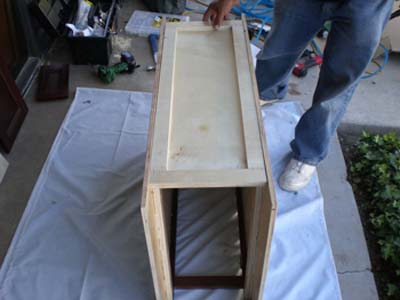
Make sure both panels are aligned. Otherwise, it will be very difficult to level the plywood for the countertop.
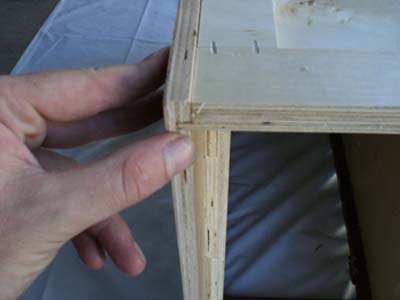
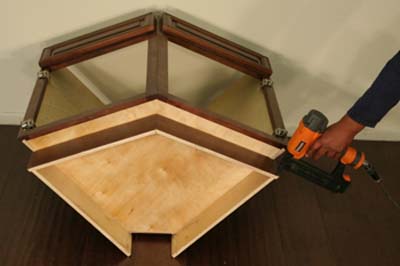
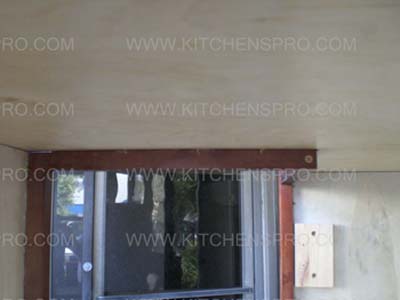
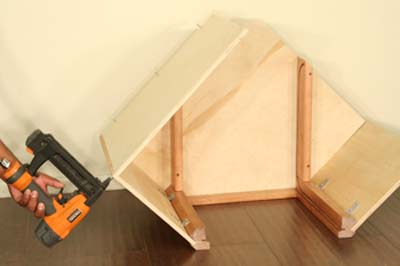
Staple the bottom of the back panel to secure it to the frame (use 3/4'' staples every 4-6'').
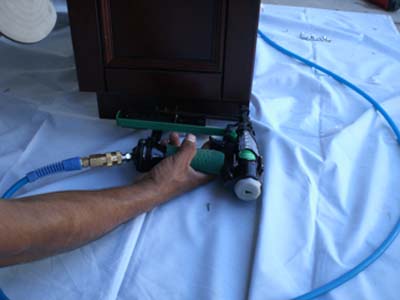
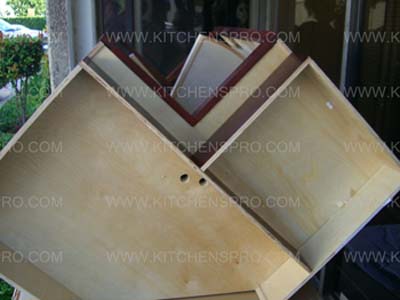
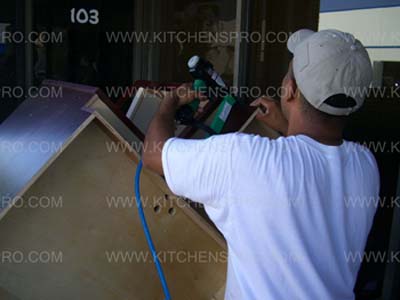
Staple the side panel to the cabinet for extra reinforcement. Use either 3/4'' or 1'' staples. Use two staples on each side of the cabinet.

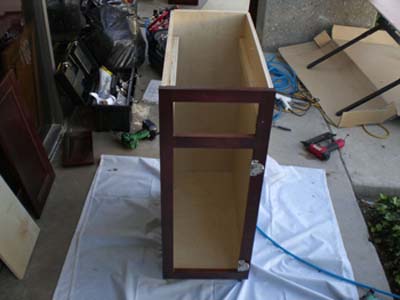
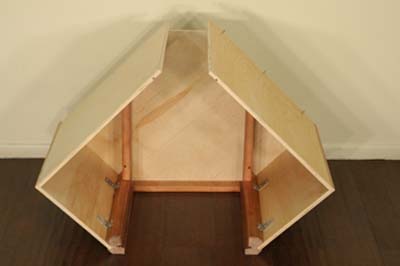
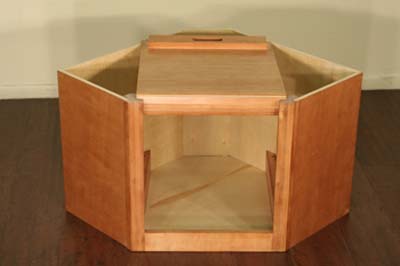
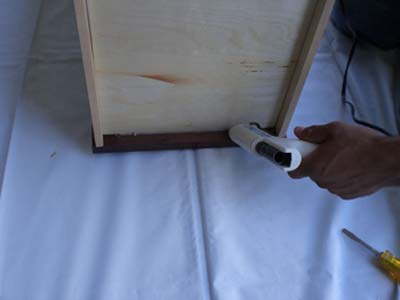
Locate the toe kick plate.
Staple it to the bottom of the cabinet using 3/4'' staples every 4-6''.
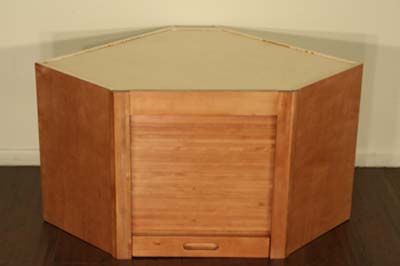
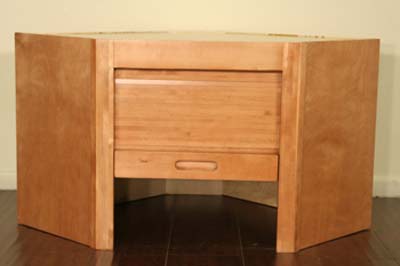
Congratulations! Your cabinet is now ready. Please see the drawer assembly instructions for further assistance.
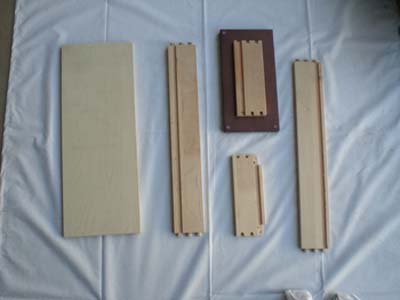
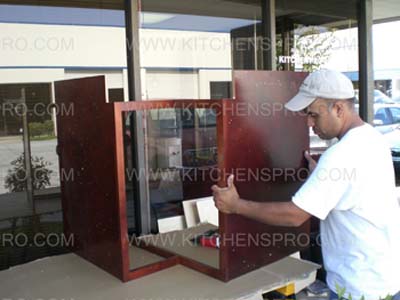
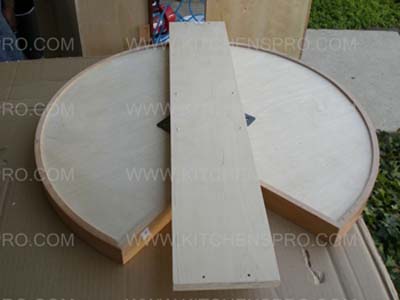
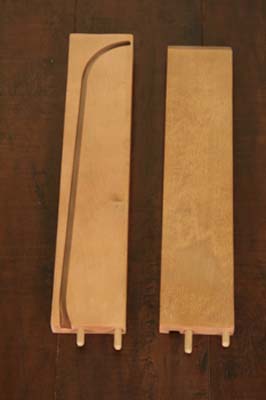
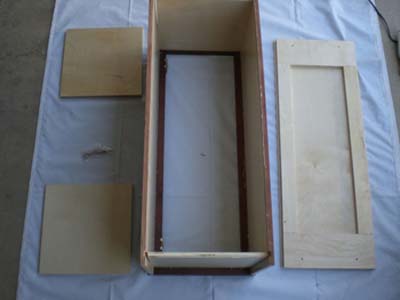
Locate all of the following parts:
1. Bottom panel
2. Two side panels (long ones)
3. Back panel
4. Front panel (drawer face)
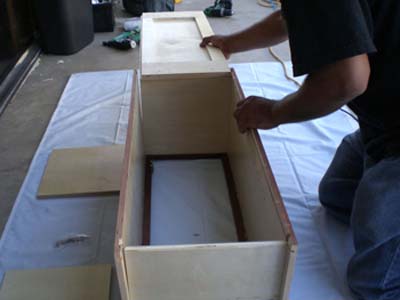
Connect the side panel to front panel.
Optional: Use carpenter's glue to glue connections.
Connect the other side panel.
Slide in the bottom panel to the groove on the bottom.
Make sure bottom panel is aligned with the back of the side panels.
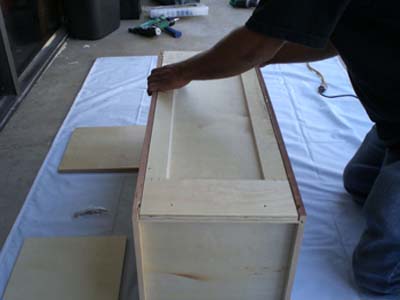
Connect the back panel. Make sure that the notch and the pre-drilled holes are facing down.
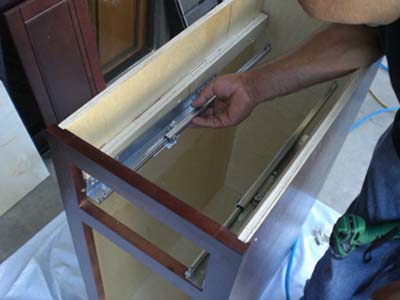
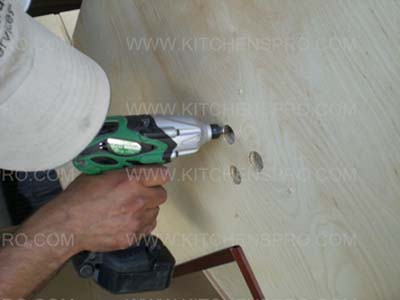
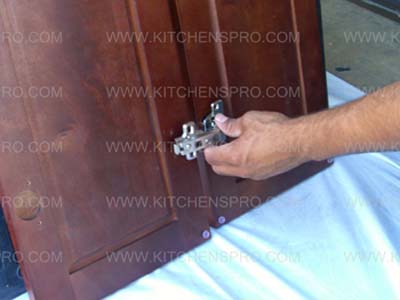
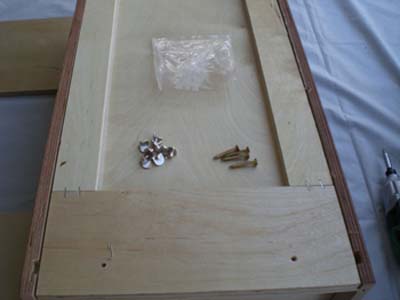
Locate the pre-drilled holes on the side of the cabinet.
Connect the drawer guides using a drill or a screwdriver.

Make sure the front of the drawer guides align with the back side of the face frame.
In the photo the left guide is installed correctly. The right one is NOT CORRECT because the front of the guide passes the back side of the face frame.
Slide drawer until the pins are in the holes.
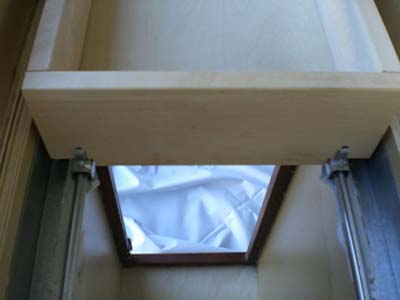
Insert the pins in the holes.
Note: The round plate under the pin can be used for easy adjustments.
Congratulations! Your drawer is now ready.
Locate the face frame and the front door.
Remove the door from the frame.
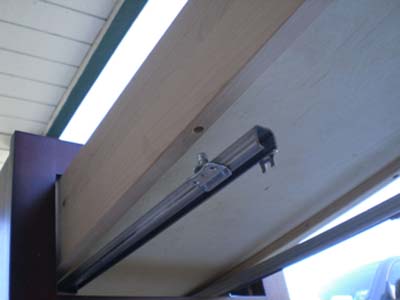
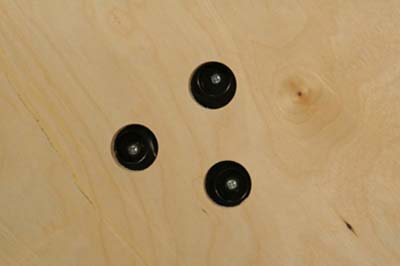
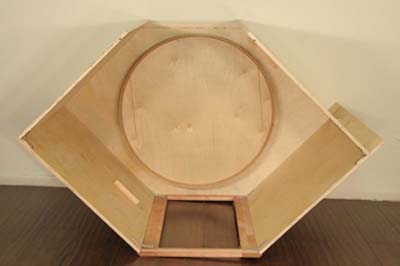
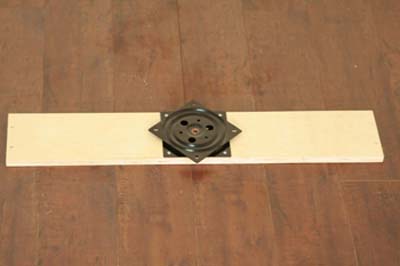
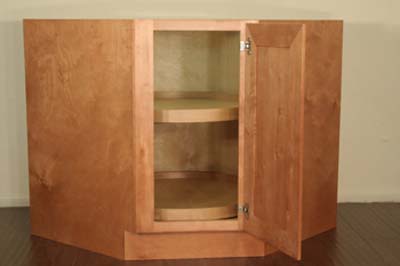
- Locate the bottom shelf the the Black rotating hinge.
- Connect the Black spinning hinge to the bottom shelf using four screws.
- Make sure the grove of the bottom shelf (at the bottom of this photo) will face up.
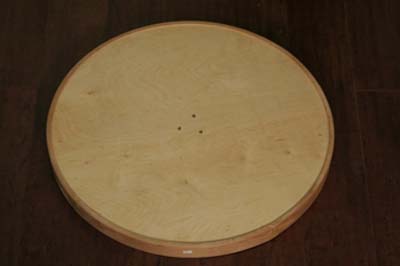
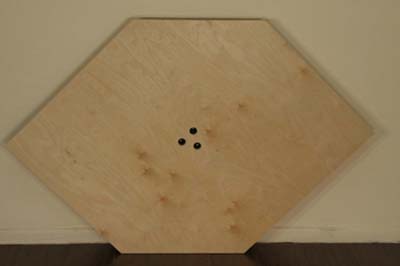
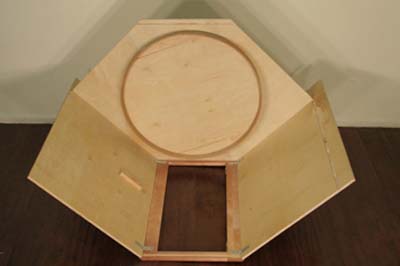
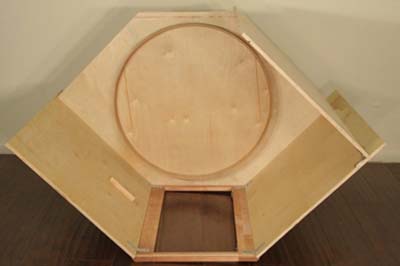
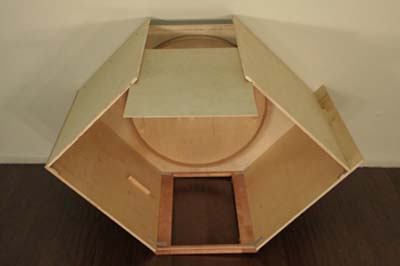
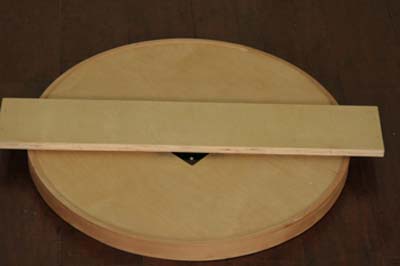
Locate the bottom spinning tray (the one with the three pre-drilled holes on the bottom (the top spinning tray has four pre-drilled holes).
Connect the bottom shelf to the spinning tray using three screw from the back (the bottom) of the bottom shelf.
Close up on the back (bottom) of the bottom shelf.
This is how the spinning tray should look like when connected to the bottom shelf.

Connect the face frame to the front site panel using two of the supplied angled brackets.
Connect the other front side panel using two additional angled brackets.
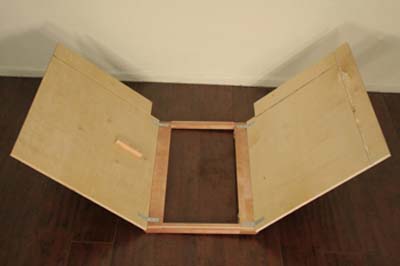
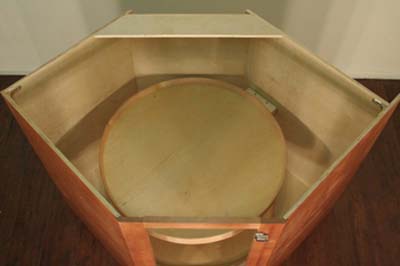
Insert the bottom shelf with the spinning tray in the pre-drilled slots on the front side panels and the face frame.
Connect the back side panel to the front side panel using the supplied 90 degrees bracket.
Secure the back side panel to the bottom shelf using three screws in the pre-drilled holes. Do not secure the screw all the way in this point to allow some flexibility until all the panels will be connected properly.
Repeat the last two steps with the other side.
Slide in the back panel in the pre-drilled slots.
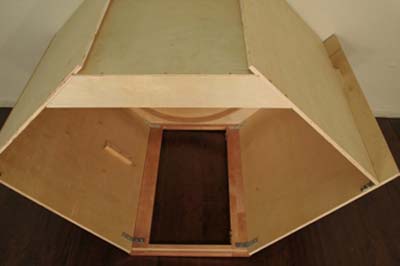
Connect the top support piece using three screws to the back panel and 2 screws on each side to the back side panels.
Locate the top spinning tray, the top Black spinning hinge and the top shelf.
Connect the top black spinning hinge to the top shelf using four screws. Make sure the pre-drilled holes on the top shelf are facing up.
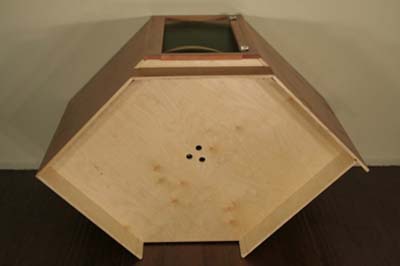
Place the top shelf with the spinning tray on top of the two support blocks on the back side panels. Secure using two screws on each side.
Connect the toe-kick piece on the bottom of the cabinet using two screws on each side.
Connect the door to the face frame.
Your cabinet is now ready!
Locate the two face frames and doors.
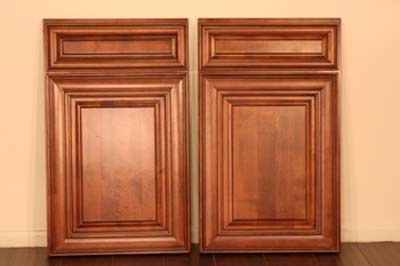
Remove both doors from the frame. Do NOT remove the drawers face and they are decorative (fake).
Connect the two face frame together using the supplied 3 angled brackets.

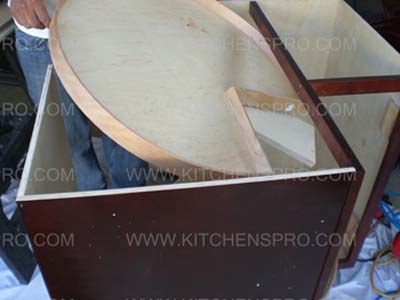
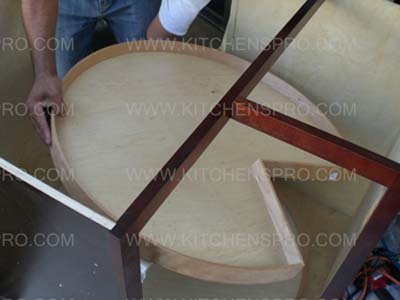
Insert the bottom panel in the slots.
Connect the side panel to the back panel. Secure the panels using staples between the side panel the and bottom panel.
Repeat the previous step with the other side panel.
Slide in the back panel.

Reinforce the cabinet structure using staples every 6'' between the side panels and the back panel.
Locate the two toe-kick pieces and join them together using staples as shown in the photo.

Secure the toe-kick using staples (two in each side).
Re-connect the two front doors and install the shelf.
Your cabinet in now ready!
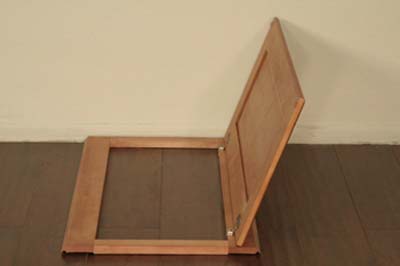
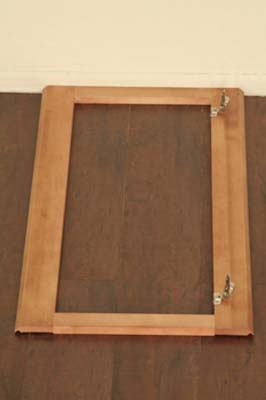
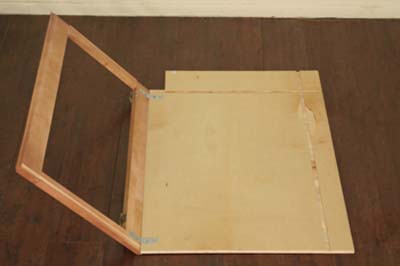
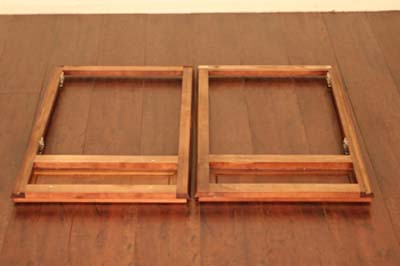
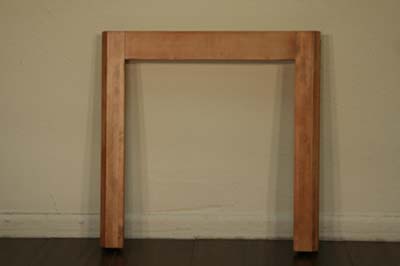
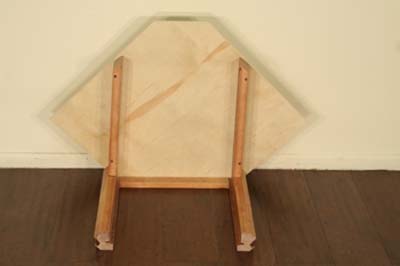
Locate both parts of the face frame.
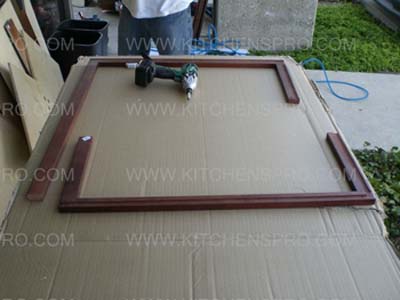
Connect both face frame parts as shown in the photo.
Secure parts by using two screws in each connection (four screws in total).
This is how it should look once you've finished Step 3.
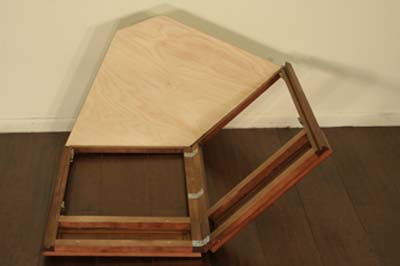
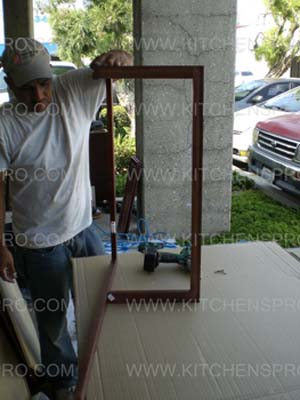
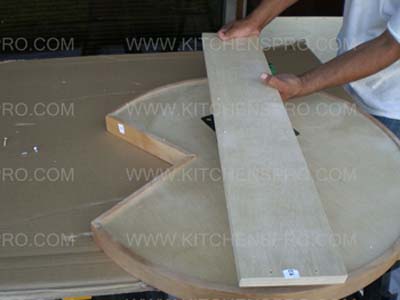
Flip the built frame so the long, unattached part faces up.
Here is a side view.
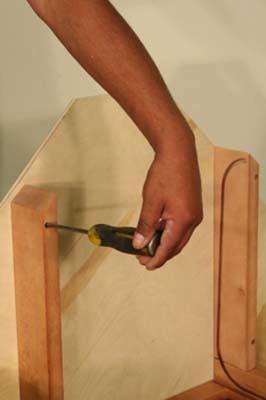
Staple the side to the frame using 3/4'' staples every 4 to 6".
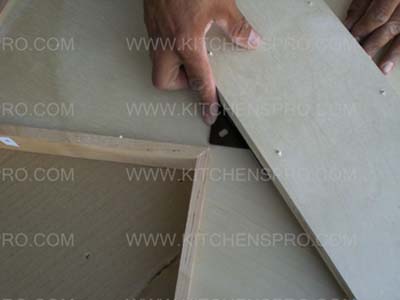
For more durability, apply a layer of hot glue on the connection between the face frame and the cabinet side.
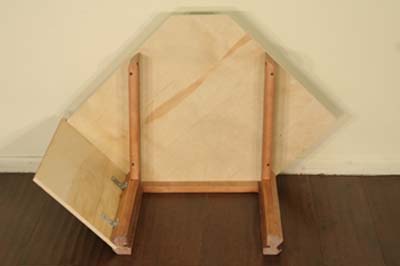
Insert the second side panel into the grooves.
Staple the second side panel to the frame every 4 to 6'' using 3/4'' staples.
If you are also using hot glue, apply a thin layer on connections.
Locate the bottom panel.
Insert the bottom panel to the grooves.
Staple the bottom panel to the frame. Apply hot glue if needed.
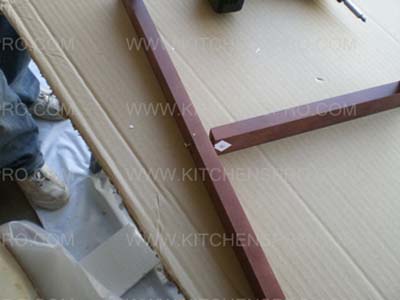
Here is a top view of the cabinet after the bottom panel is installed.
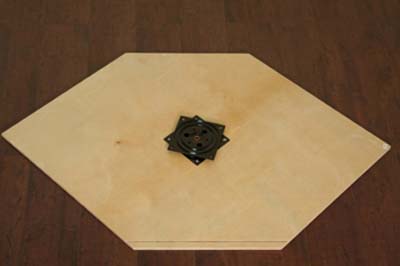
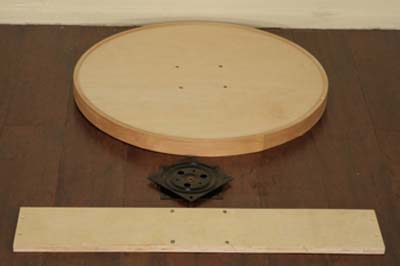
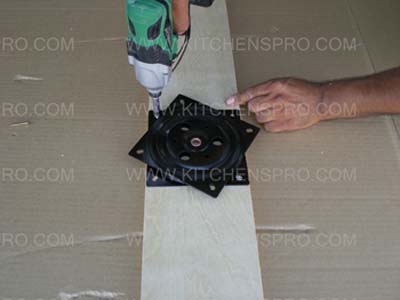
Locate the spinning tray holders.
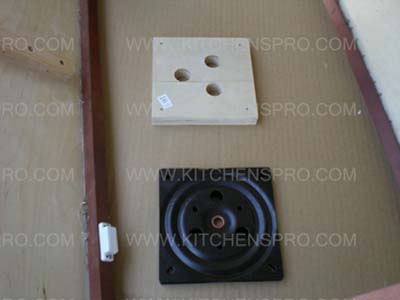
Place the metal plate on top of the wooden plate as shown in the photo.
Note that the pre-drilled holes in the wooden plate should align with the holes in the metal plate.
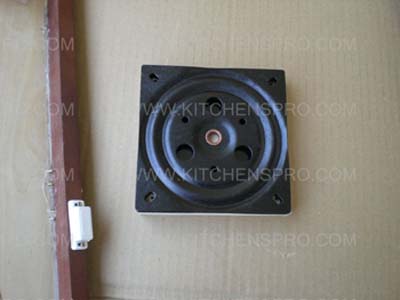
Once you have aligned the plates, secure them with screws.
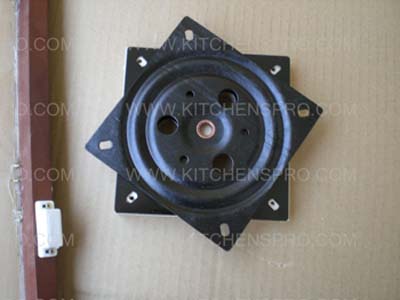
Place the bottom spinning tray on top of the plate.

While holding the spinning tray, check on the other side to see if the holes are aligned.
Secure the spinning tray to the plate using screws.
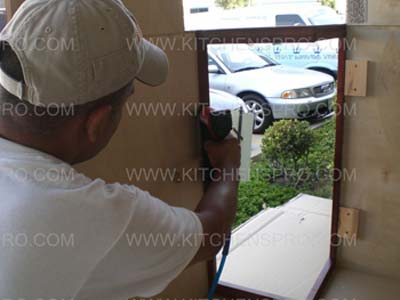
Locate the rear side panel and insert it into the grooves. Make sure the two pre-drilled holes at the top align with the face frame.
In the photo, you can see the holes, the face frame and the installer's hands.
Make sure the rear side panel is secured and aligned with all the grooves.
Staple the side panel to the rear side panel using 3/4'' staples every 4 to 6''.
Start from the top.
Staple down to the bottom.

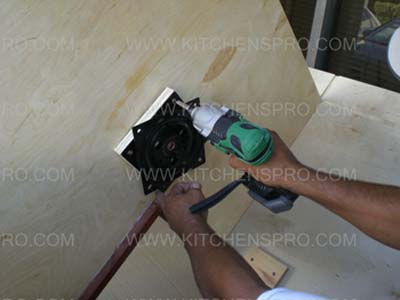
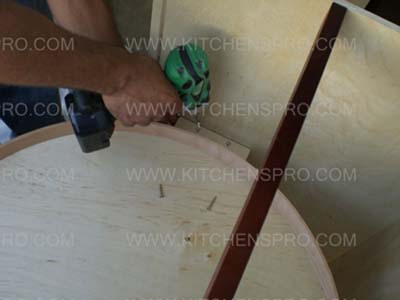
Locate the upper spinning tray holder and connect it to the partition panel using four screws.
Here is a side view of the partition panel with the attached spinning tray holder.

Place the partition panel with the attached holder on to the upper spinning tray.
Make sure that the plate holes align with the pre-drilled holes in the upper spinning tray.
Once the holes are aligned, connect the upper spinning tray to the partition panel using four screws.
Here is a top view of the upper spinning tray after it has been secured to the partition holder.
Insert the upper spinning tray into the cabinet.
Make sure to place the partition panel on the pre-installed support panels.
Connect the partition panel to the support panels using two screws for each side.
onnect the partition panel to the support panels using two screws for each side (four total).
Locate the back panel and insert it into the grooves of the rear side panels as shown in the photo.
Make sure the back panel is align inside the grooves.
Locate the upper support panel.
Connect the upper support panel using two screws for each side.

Secure the back panel using screws in the pre-drilled holes.
Locate both parts of the toe kick and connect them using screws as shown in the photo.

Here is a view of the bottom of the cabinet to illustrate how the toe kick panels should be installed.
Connect the toe kick panels to the cabinet using 3/4'' staples every 4''.
Congratulations! Your cabinet is now ready.

Remember to install the doors only after the entire cabinet installation is complete in order to prevent damages.
Locate the parts needed for door installation.
Place both doors as shown in the photo.
Insert the hinges to connect both doors together and secure with screws.
Locate the front face frame.
Locate the two top support pieces.
Insert the top support pieces into the pre-drilled holes in the front face frame.

Connect the top panel to the top support pieces using four screws in the pre-drilled holes on the top support pieces.
Close up on the way to connect the top panel to the top support pieces.
Connect the side panel to the front face frame using two brackets as shown in the photo.
Connect the other side panel to the front face frame using two additional brackets.
Connect the back side panel to the top panel using three screws in the pre-drilled holes.
We recommend reinforce the structure of the cabinet using 3/4'' staples as shown in the photo (to connect the back side panel to the front side panel). You may also use the supplied brackets instead of staples to complete this task.
Repeat the last two steps with the other back side panel.
Slide in the back panel and secure with four screws in the pre-drilled holes.
Slide in the door into the slots starting from the bottom to the top.
Flip the cabinet and make sure the doors opens and closes properly.
Your cabinet is now ready!
Disconnect door from frame in order to prevent damages during assembly and installation.
Locate the side panels.
Insert side panel into the groove in the frame.
Secure the side to the frame by using a staple gun (3/4'' Deep by 1/4'' Wide staples are recommended).
Staple the side every 6''.
For increased durability use a glue gun (hot glue) to glue the joint of the frame and the side panels together.
Make sure to leave a thin, even layer and to wipe off the excess glue after it is dry.
Repeat Steps 3 and 4 with the other side panel.
Locate the identical top and bottom panels.
Insert each of them in the grooves of the side panel. Make sure the notch on the side of the panels faces the frame.
Do NOT staple the top and bottom panels from the inside. Staples and glue will be used from the outside (see next step).
After the panels are inserted in the grooves. Secure them using staples every 4-6''.
Repeat this step with the other panel.

Add a layer of hot glue. Repeat this step with the other panel.
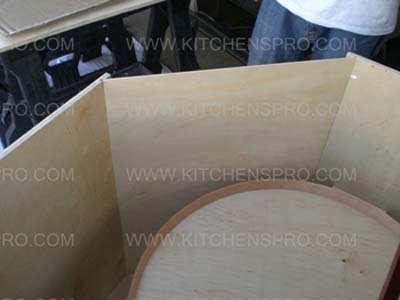
Locate both shelves (left) and the back panel (right).
Slide the back panel in the grooves.
Make sure the back panel is inserted properly.
Locate the shelf holders (left) and the screws to the back (right).
Use four screws to secure the back panel to the frame (in each pre-drilled hole).
Using a regular Philips Head Screwdriver, secure all four screws.
Use two staples (either 3/4'' or 1'' staples) to secure the side of the cabinet.
Do not staple more than 1/2'' below the top or you will "miss" the back plywood piece.
Repeat this process with each side (four in total).
Congratulations! Your cabinet is now ready.
Remember to re-install the doors and shelves after installation in order to avoid damages.